In this article:
- Why Choose CapCut Desktop for Mixing Media?
- Benefits of Using CapCut Desktop Video Editor
- Step-by-Step Guide to Mixing Audio, Video, and Images in CapCut Desktop
- Conclusion
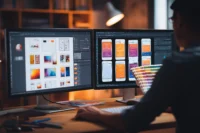
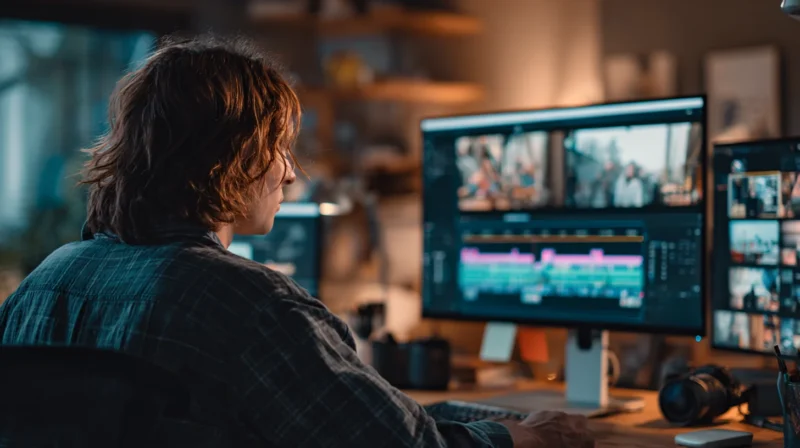
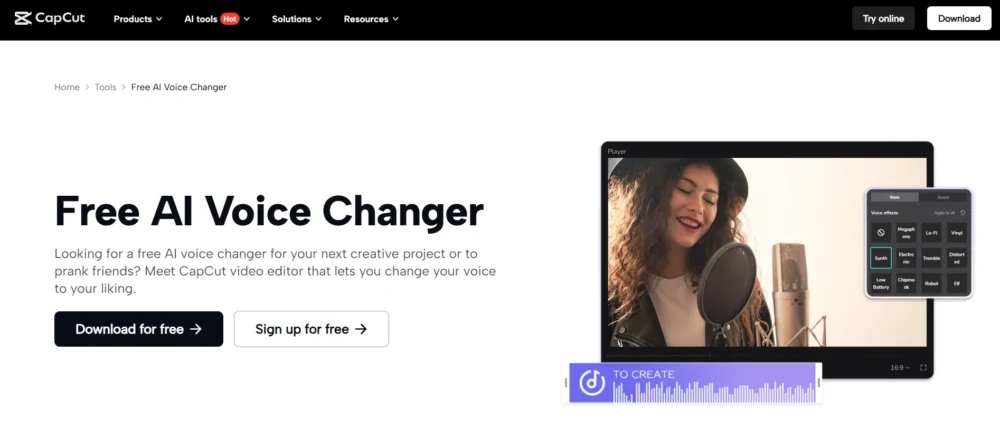
Creation of videos is not restricted to any professional who has a history of editing. Unlike many years ago, it does not require a professional to mix audio, video, and images into a refined piece of content anymore with easy-to-use programs such as CapCut Desktop Video Editor. CapCut offers you the tools to make your idea come to life, no matter it is a vlog, a presentation, or a social media reel. Not only does it provide greater editing possibilities, but it also incorporates fresh functions such as filters, transitions, effects, and a voice changer, which is why it is a one-stop shop for creators.
In this tutorial, we are going to discuss the process of how you can combine audio, video, and images in CapCut without any difficulties. We will also take you through five distinct operational phases-starting with the launching of the editor to export your project-so that you can produce professional-quality videos with ease.
Why Choose CapCut Desktop for Mixing Media?
CapCut has proven to be a favorite among creators as it is easy to use and has advanced features. You do not need to switch between several apps, and you can edit audio and video, and images in a single workspace. Its drag-and-drop interface and wide range of effects, stickers, and transitions make it easy to edit, and no matter what you are making, it gives your project a cool look.
In need of a trustworthy video editing software CapCut is a neatly designed program, and its user-oriented workflow makes it easy to use. Besides, it does not sacrifice sophisticated editing capabilities, making it a good choice among both amateur creators and professional users.
Benefits of Using CapCut Desktop Video Editor
CapCut has several advantages when combining audio, video, and images to make the editing process easier:
- All-in-one workspace – You do not have to use various applications, but all is in-built.
- Drag-and-drop functionality – Drag and drop features make it easy to edit within the software.
- Advanced tools – Professional features, including keyframing, color grading, and masks.
- High-quality exports – HD and 4K quality.
- Creative freedom – Add text, effects, and filters to make your video special.
CapCut can also be used well with an online photo editor by creators who also manipulate photos and then insert them into video education (or video projects in general). This blend will make sure that your end product will be professional on any platform.

Get 300+ Fonts for FREE
Enter your email to download our 100% free "Font Lover's Bundle". For commercial & personal use. No royalties. No fees. No attribution. 100% free to use anywhere.
Step-by-Step Guide to Mixing Audio, Video, and Images in CapCut Desktop
The five necessary steps to make your video project are:
Step 1: Launch CapCut and Start a New Project
Open CapCut on your desktop. Click on the home screen, New project. An explorer window will be displayed where you can add your media files (video clips, images, and audio). Choose the files that you wish to work with and press Open. They will automatically be shown in the panel of Media on the left side of the editor.
Step 2: Add Media to the Timeline
Video clips and pictures can be dropped into the timeline at the bottom by dragging them into place on the panel at the bottom of the Media panel. Put them in order of your liking. You are able to insert pictures in between video clips or put them on top of videos by placing them on various tracks. In order to change the length of an image, hold its edge in the timeline and drag it.
Step 3: Insert and Adjust Audio
To insert background music or sound effects, in the upper menu, choose the option of audio option. Select music library in CapCut or press “Import” to tap in self audio files. Drag the audio track that you want to audio to the video timeline. You are able to cut the audio by dragging its sides or change the volume when you right-click the track and have a choice of Adjust audio.
Step 4: Enhance Your Project with Effects and Transitions
In the toolbar above, choose the Effects or Transitions tab and then simply choose a clip or image on the timeline. In this place, it is possible to insert filters, transitions, and blending of clips. For more dynamic storytelling, experiment with text, stickers, or motion effects. The playback window on the right enables each improvement to be seen in real-time.
Step 5: Export Your Final Video
When your media mix is to your liking, you can get the button of Export at the top right. A window will open in which you will be able to configure the file name, resolution, format, and the location of the save. Once you are certain of your preferences, be sure to re-click on the Export button. CapCut will then work on the video and store it on your computer, only to be shared on social media or any other platform.
Conclusion
It does not need to be overwhelming to mix audio, video, and images. CapCut Desktop Video Editor gives you a very basic but effective software that lets you assemble assorted media types into a finished film. You can create interest-grabbing content and not go through the steep learning curve of editing tools by using the five steps to initiate the project, adding media, inserting audio, adding effects, and exporting.
CapCut is flexible and offers the tools and features you need to make content, whether you are creating it as a hobby, business, or as social media marketing strategy. Begin mixing now, and see your creative output all transformed into professional videos.